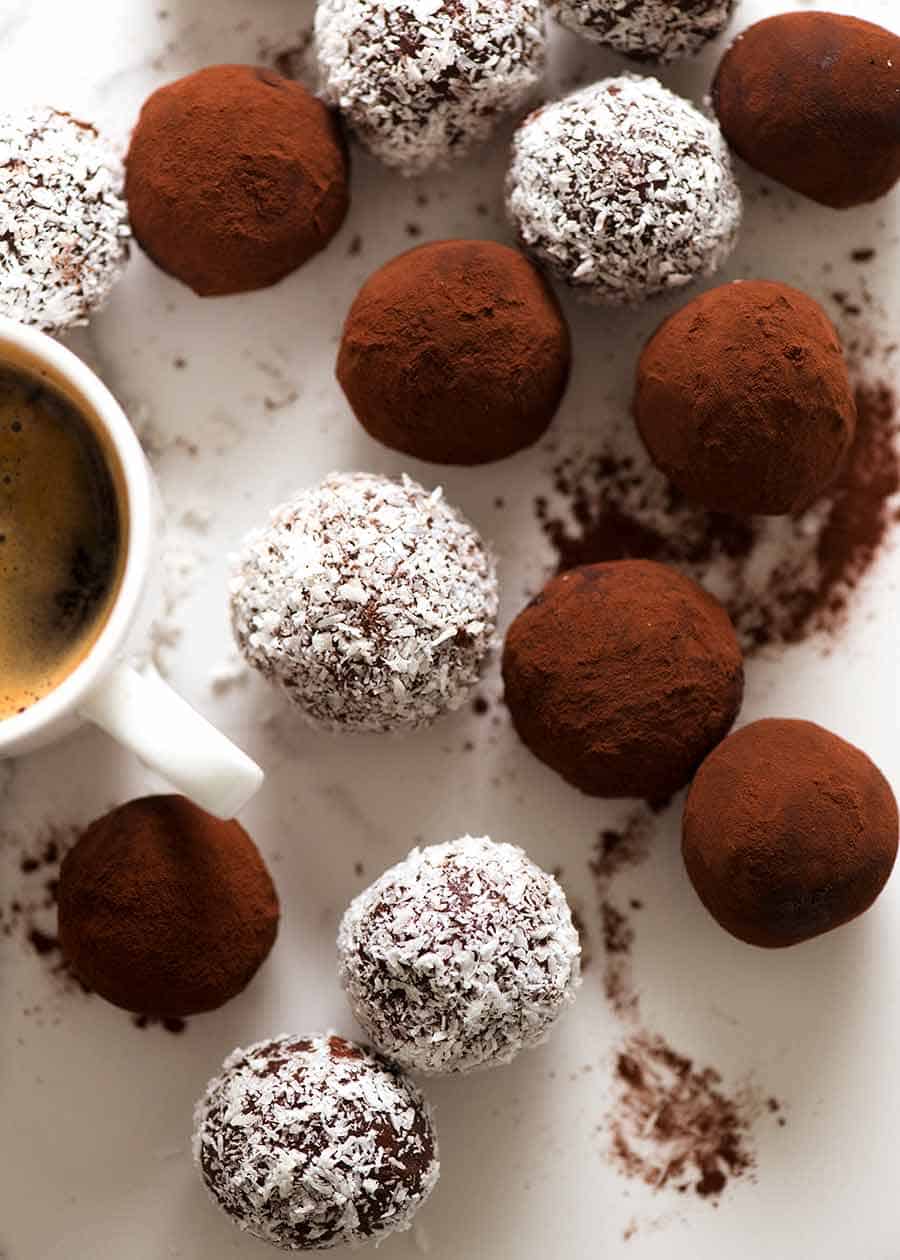
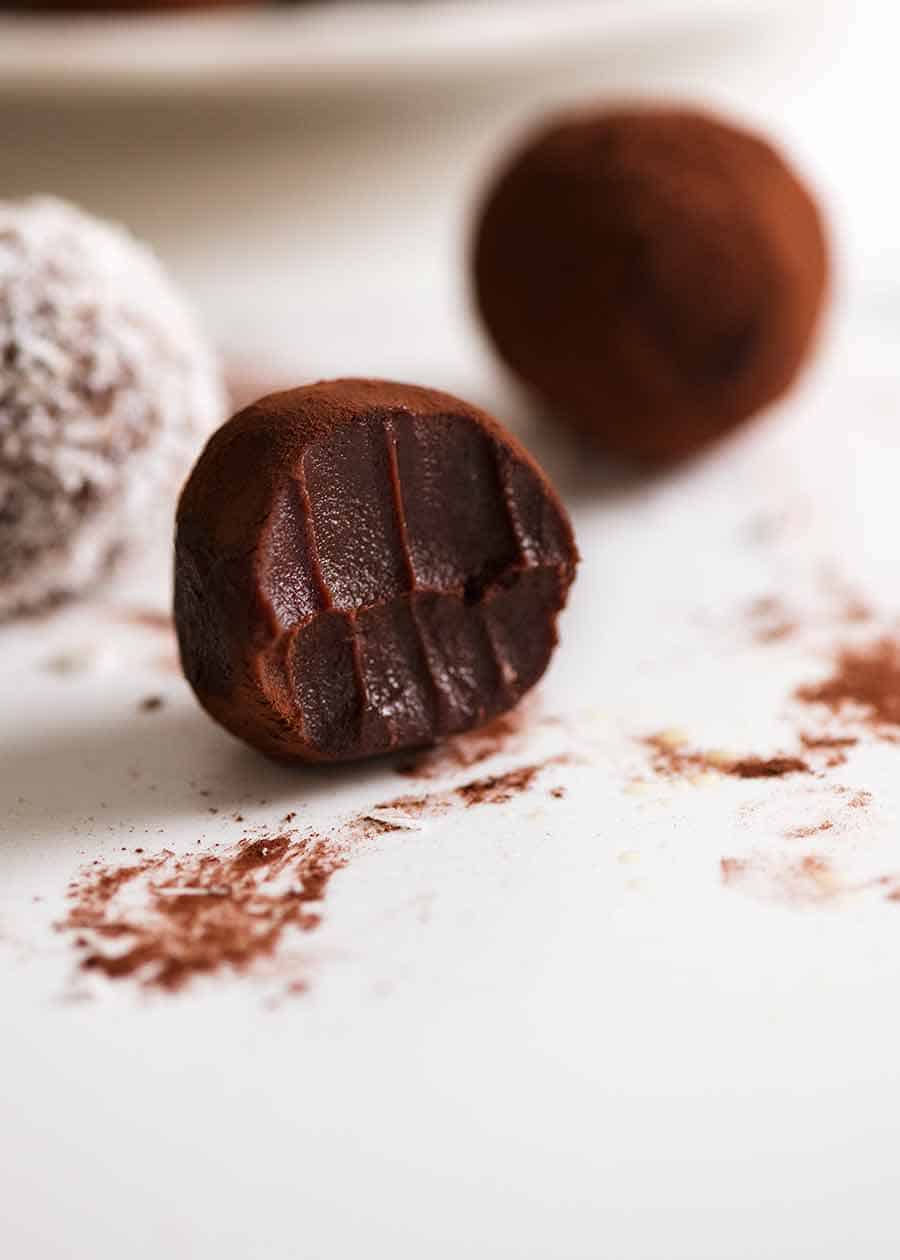
Bonus: you get to lick the bowl clean. I’ll take that over cake batter any day!
Chocolate Truffles
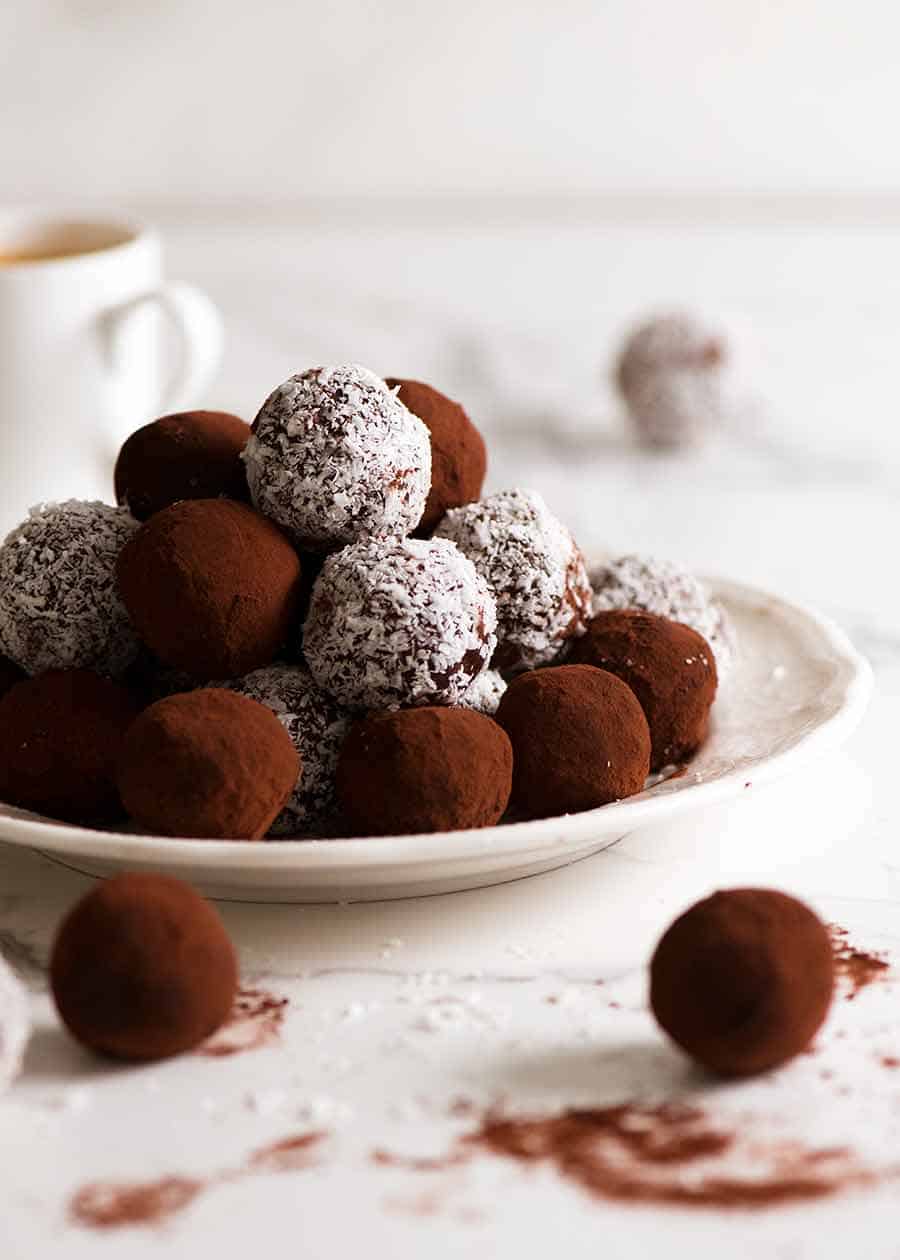
5 years ago when I embarked on a chocolate truffle mission, I was rather surprised that it wasn’t as easy as I thought to find a “normal” chocolate truffle recipe. All I wanted was a basic truffle recipe that I could make without having to use $40/kg ($20/lb) Lindt 85% cacao dark chocolate, without liquor in it, without a salted caramel centre, without using a candy thermometer, without a double coating of chocolate. Was I asking for the impossible?? Was I reaching for the stars?? So I just muddled together my own. All you need is chocolate, cream and butter. How hard could it be? (*She thought confidently, overly confidently it turned out because it did end up requiring a few batches to get the ratios right for the perfect rollable-yet-melt-in-your-mouth consistency)
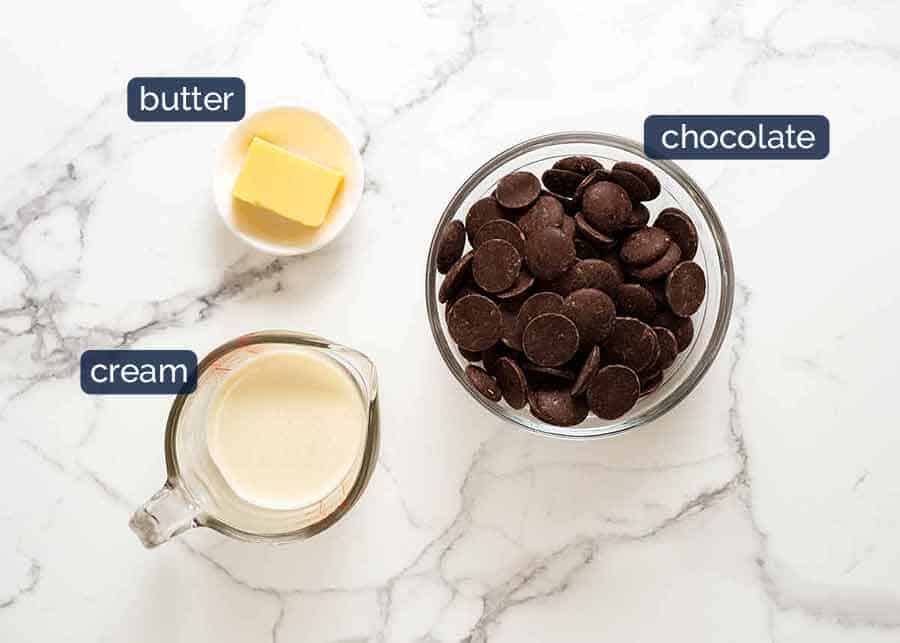
What you need
The world’s easiest sweet treat – chocolate, butter and cream!
Chocolate – the better the quality, the better the truffle. But still so luxurious made with mainstream brand chocolate you get in grocery stores. Just be sure to use the chocolate you buy in the baking aisle, not eating chocolate. Baking chocolate is made for melting smoothly, eating chocolate does not melt properly and also has a different consistency once it resets. Cream – full fat all the way! I’m not just being fussy here, it’s actually required. Don’t use a cream with less than 30% fat because then the chocolate won’t firm up enough to scoop ‘n roll (as I found out the hard way when I attempted to make “low fat” chocolate truffles, SERIOUSLY WHO DOES THAT??!!) Butter – it adds another layer of richness to the chocolate truffles as well as assisting with consistency (because butter firms up in the fridge to make the mixture roll-able but then softens once the truffles are at room temp).
How to make Chocolate Truffles
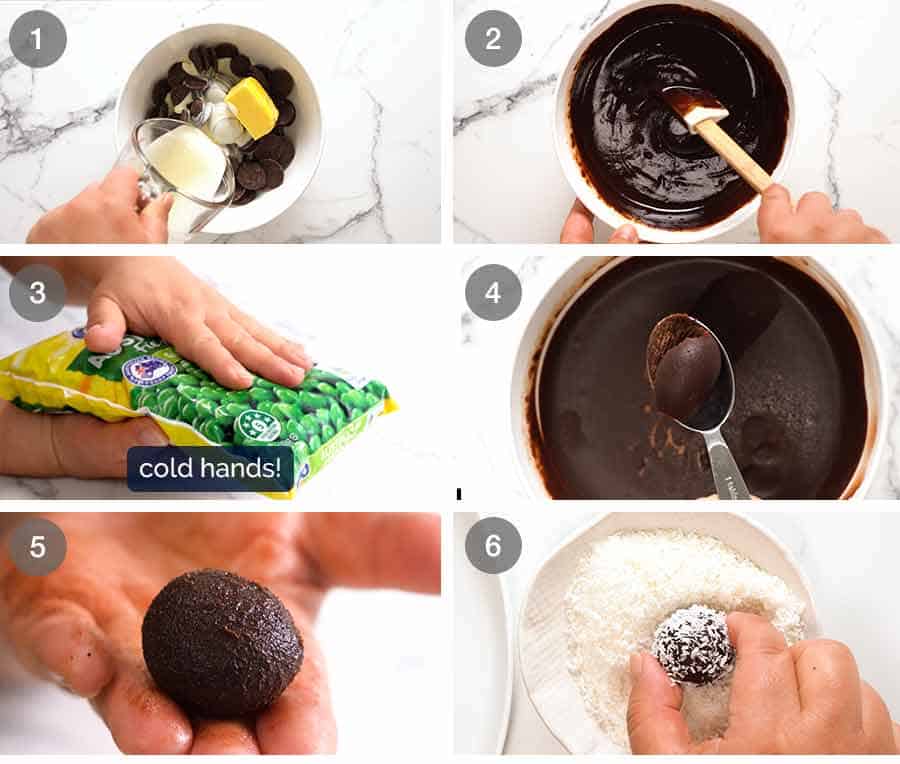
Rolling truffles can get quite messy, so here are my tips to make truffles with ease:
- Make sure that the truffle mixture is properly chilled before rolling them so I recommend chilling for at least 5 hours, preferably overnight. Don’t be tempted to freeze it to speed it up because then the chocolate will set unevenly which will result in some parts that are too hard to scoop out.
- Keep your hands cold with an ice pack or a bag of frozen peas (covered with a tea towel) – I have hot little hands. Plenty of built-in insulation. 😂 Which is great for saving on the power bill in winter. Not so good for making chocolate truffles because my hot little hands melt the chocolate while I’m rolling the balls so they slip and slide everywhere. So before you start rolling, run your hands under cold water and keep an ice pack, frozen peas or something cold nearby to keep your hands cold throughout the rolling process. I know this sounds weird, but it is so effective!*
Gifting and eating!!
And when to make these little beauties??
Post meal “light” treat, rather than committing to a whole grand dessert. I don’t know about your family and friends, but mine tend to overload on the mains (possibly because the vast proportion of my cooking attention is focussed on the main affair) and often too full for dessert. Sound familiar to you too?? After dinner coffee or cocktail – just like at fine dining restaurants! Try it with an Espresso Martini (she swoons at the thought); Afternoon tea, morning tea, and everything in between; and GIFTING – the main reason I make these! I will go all year without making truffles, then suddenly go on a truffle binge as we approach Christmas! Pack them in sweet little boxes with tissue paper and tie with ribbons or I’m little cellophane bags.
They last for yonks (that’s Aussie for “ages”), as in weeks and weeks. Keep them in the fridge if it’s hot where you are but definitely serve at room temperature so the chocolate is creamy and melty the moment you bite into it!! – Nagi x
Watch how to make it
First published November 2014. About time I updated it!!!
Life of Dozer
At a “no dogs allowed” beach. He’s ALWAYS pushing the boundaries!!
SaveSave SaveSave
